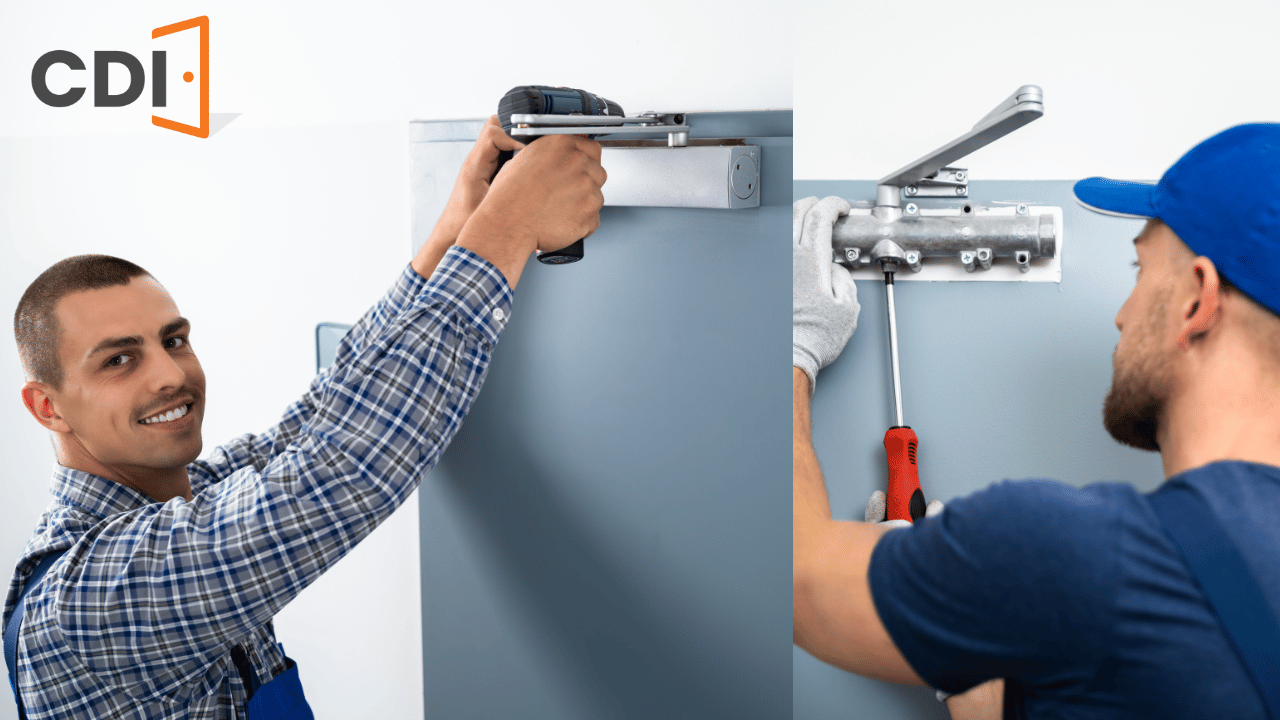
A properly installed and adjusted door closer ensures smooth, controlled door movement, enhances security, and prolongs the lifespan of your door. Whether you're a seasoned installer or a first-timer, following the right steps is crucial for achieving optimal performance. In this guide, we’ll walk you through the process of installing and adjusting a door closer. Door closers can be in installed on many of the doors we carry like commercial steel doors, commercial wood doors, and commercial metal doors.
Depending on the type of door closer you’re installing (surface-mounted, concealed, or floor-mounted), placement will vary. Most commonly, for surface-mounted closers:
Identify the mounting location on either the push or pull side of the door, depending on the door swing and closer type.
Mark the holes for the closer body and arm on both the door and the frame using the template provided in the closer kit. Each model of a door closer can have a different placement, so it is important to ensure you use the template from the closer kit.
Pro Tip: Drill pilot holes to make it easier to insert screws later.
Once your markings are in place, proceed with installation:
Attach the closer body: Use screws to secure the door closer body to the door as per your markings. Ensure it’s tightly fastened to avoid future issues with movement.
Install the arm: Connect the arm to the door frame or closer body, following the manufacturer’s instructions. Some door closers may have an adjustable arm length, which should be adjusted to ensure smooth door operation.
After installation or after some frequent use, fine-tuning the door closer’s settings is critical for ensuring the door closes at the right speed and latches securely. Most door closers have two main adjustment screws that controls 2 separate things.
Closing speed screw: Controls how fast the door closes after being opened.
Latching speed screw: Adjusts the final few inches of the door closing to ensure proper latching.
For commercial doors, make sure the door closer adheres to ADA standards, which stipulate that the door must take at least 5 seconds to close from 90 degrees to 12 degrees. Adjust accordingly to ensure the door can be easily opened and closed by all users.
After installation, regular maintenance can extend the life of the door closer:
Installing and adjusting a door closer may seem like a daunting task, but with the right tools and approach, it can be done efficiently. Following these steps ensures a smooth, reliable door closer that enhances both safety and convenience in your commercial or residential space. If you need professional help, CDI Doors is here to assist with expert installation and maintenance services for all your door needs. Visit our wide selection of commercial doors to go with your next self-closing opening solution.